
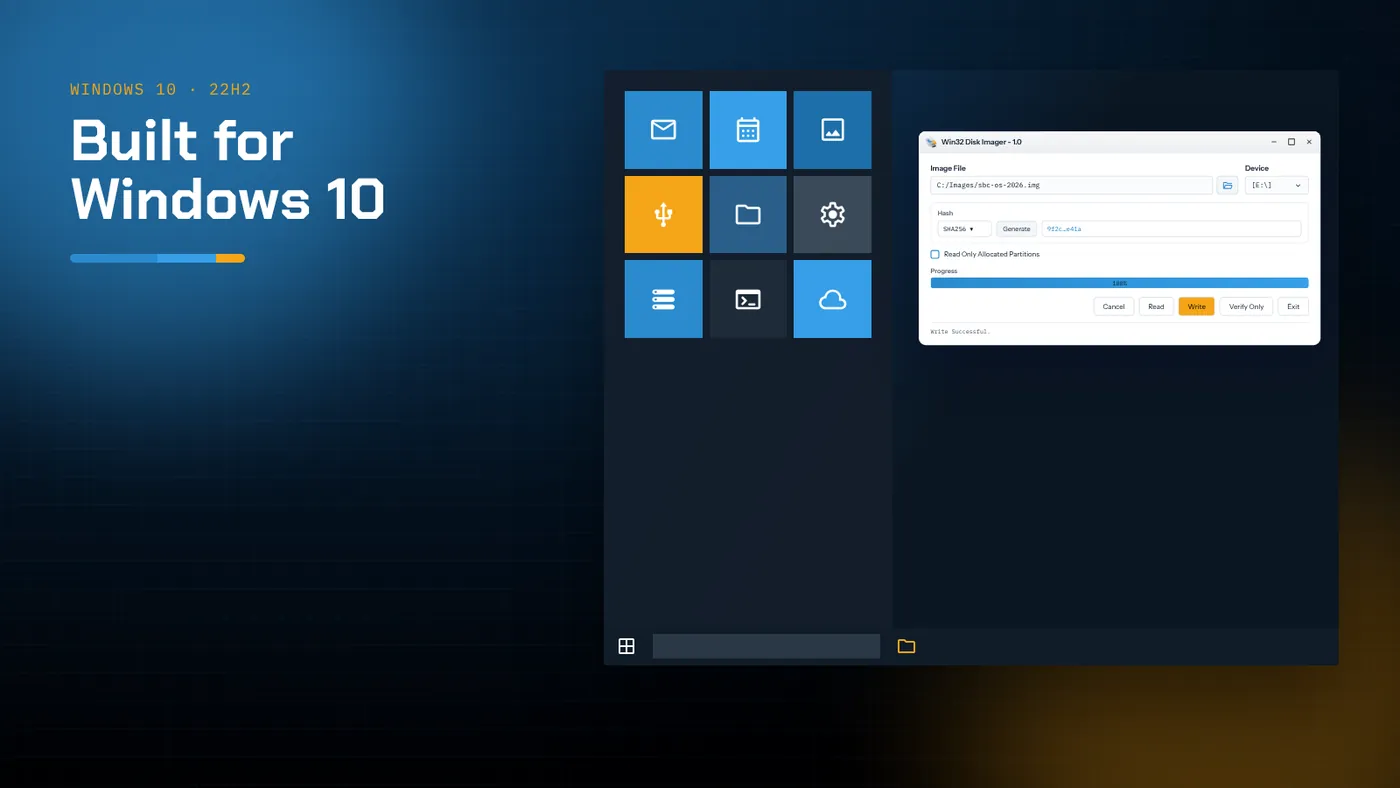
- Windows 10 22H2 is the most tested platform for both builds; nothing special is needed beyond running as administrator.
- Microsoft Defender's real-time scan and Windows Search indexing are the usual causes of locked-volume errors.
- Read, hash, write and verify make a complete loop you can trust with production cards.
- Windows 10 left mainstream support in October 2025; the tool keeps working, but keep the OS behind updated protection or ESU.
Why Windows 10 is the comfortable middle ground
More Win32 Disk Imager tutorials were written on Windows 10 than any other version, and for good reason. It ships with every driver a card reader is likely to need, including USB 3. It doesn't have Windows 11's Smart App Control. And both the native Win32 build and the 1.0.0 Qt release run on it without any adjustment.
Windows 10 version 22H2 is the final feature update. Mainstream support ended in October 2025, with Extended Security Updates available for those who enrolled. None of that affects the program, which doesn't depend on anything Microsoft is still changing. It does mean you should think about how the PC itself is protected, which we'll come back to at the end.
This guide walks through a complete workflow on Windows 10: install, write, verify, read, and reclaim.
Installing on Windows 10
Option 1: the 1.0.0 installer
Download Win32DiskImager-1.0.0-install.exe from the SourceForge project's Files page, check its SHA1 against the value shown there, then run it. Accept the UAC prompt and finish the wizard. The program appears in the Start menu as Win32DiskImager.
Option 2: build the native edition
Download the source ZIP from this site's download section, extract it, open the solution in Visual Studio with the C++ desktop workload and WTL added, then build Release for Win32. Copy the executable wherever you want it. There's nothing to install.
Pin it for convenience
Right-click the Start menu entry or the executable and choose Pin to taskbar. To avoid answering the UAC prompt for the wrong program by mistake, give the shortcut a distinctive name like "Disk Imager (admin)".
The complete workflow
The most reliable way to use the program treats every card as untrusted until proven otherwise. These five stages make a loop you can repeat for each new card.
1. Prepare the image
Download the OS or firmware image. If it arrives compressed, extract it. Windows 10's File Explorer opens .zip natively; for .xz or .7z use 7-Zip. You need a plain .img, or a hybrid .iso.
Then check it. Open the program, select the image, choose SHA256 in the Hash panel and press Generate. Compare the value with the publisher's. On Windows 10 you can also confirm in PowerShell:
Get-FileHash C:\Images\sbc-os-2026-10.img -Algorithm SHA256
2. Prepare the card
Insert the card. Windows 10 may open a File Explorer window and an AutoPlay notification. Close both. If the card has been used before, there may be several partitions. That doesn't matter; Write replaces the entire layout.
3. Write
In the program:
- Image File: your
.img - Device: the card's letter. Check its size against the label.
- Press Write, read the confirmation carefully and accept.
The status bar shows the speed and time remaining. A typical 4 GB image takes one to five minutes depending on the card and reader.
4. Verify
When you see Write Successful, press Verify Only without changing anything. The program reads back exactly as many bytes as the image holds and compares them. Verify Successful means the card holds exactly what you sent. A mismatch means the card or reader can't be trusted; see the troubleshooting section below.
5. Eject properly
Use the Safely Remove Hardware icon or right-click the card in Explorer and choose Eject. If Windows offers to format the card, cancel. It's only saying it can't read the Linux partitions.
Reading a backup on Windows 10
The reverse direction is just as useful:
- Type a new path into Image File, for example
D:\Backups\kiosk-07-2026-11-05.img. Typing a name that doesn't exist yet is how you tell the program to create a file. - Choose the card under Device.
- Tick Read Only Allocated Partitions if you only want the space the partitions use.
- Press Read.
- When it's done, generate a SHA-256 of the new image and save it in a text file alongside.
Make sure the destination drive has enough free space: as much as the card's capacity if you don't tick allocated-only. Also make sure the destination is NTFS or exFAT, because FAT32 caps files at 4 GB.
Reclaiming a card for normal use
After writing a Linux image, Windows 10 shows only a small partition. To get the full card back:
- Right-click Start → Disk Management.
- Find the card. Check the size and the disk number carefully.
- Right-click each partition on it → Delete Volume.
- Right-click the unallocated space → New Simple Volume, then format it as exFAT or FAT32.
If Disk Management won't delete a partition, an administrator command prompt and diskpart will. Always run list disk and check the sizes before select disk, because clean erases whichever disk is selected without asking.
Windows 10 components that get in the way
Microsoft Defender real-time protection
Defender scans removable drives when they're mounted. If you start a write while it's scanning, the program may fail to lock the volume and report Error 5: Access is denied. Wait half a minute after inserting the card, or add your image folder to Defender's exclusions if scans of large images slow things down. Don't turn protection off.
Windows Search indexing
Indexing sometimes opens files on removable drives. If writes regularly fail with access errors, open Indexing Options and make sure removable drives aren't included.
Controlled folder access
If you've enabled Controlled folder access (Ransomware protection), the program may be blocked from creating image files in Documents, Pictures or Desktop. Save images to a folder outside the protected list, such as C:\Images, or add the program to the allowed apps.
OneDrive
Saving images into OneDrive-synced folders starts large uploads straight away. Keep images in a local folder.
Troubleshooting on Windows 10
| Message or symptom | Cause | Fix |
|---|---|---|
| Error 5: Access is denied | Defender scan, Explorer window or indexing holding the volume | Wait, close Explorer, retry as administrator |
| Error 21: The device is not ready | Card removed, reader asleep or contact problem | Reseat the card; try another port |
| Not enough space on disk | Image larger than the card | Use a larger card |
| Verify mismatch | Bad or counterfeit card, or unreliable reader | Test the card's full capacity; swap the reader |
| Card missing from Device list | No drive letter assigned | Add one in Disk Management |
| Window doesn't open | UAC declined or a slow drive delaying startup | See the not-opening guide |
Speed tips
- Use a USB 3 reader in a rear motherboard port on desktops.
- For many cards, a reader that supports UHS-I cuts time noticeably on U3/V30 cards.
- Large writes on laptops are faster on mains power, because battery power plans can throttle USB.
- Writing many cards in a row? Keep the same reader and port, so the drive letter stays the same and you're less likely to pick the wrong device.
Windows 10 after end of support
The program itself is unaffected by Windows 10's support status. The PC around it is a different matter. If the imaging machine isn't enrolled in Extended Security Updates, keep it behind a firewall, avoid general browsing on it, and keep Defender's definitions current (they continued to receive updates after the OS support date). Alternatively, move imaging to a Windows 11 machine; the workflow above is identical there.
Building a repeatable routine for teams
When several people flash cards on the same Windows 10 PC, a short written routine prevents most mistakes. A version that fits on one sheet of paper:
- Only one card reader is plugged in. No other USB storage is connected.
- The image comes from the shared
C:\Imagesfolder and its SHA-256 matchesSHA256SUMS.txt. - The Device letter and size match the card label.
- Write, then Verify Only, without changing any field.
- Label the card with the image name and date, then eject.
Pin the sheet next to the PC. It takes thirty seconds to follow and saves hours of tracking down which device has the wrong software.
Logging what you wrote
For fleets of devices, keep a simple log: date, image file name, its SHA-256, card serial or label, and who wrote it. A spreadsheet is fine. When a device misbehaves months later, you can tell at once which image it was built from, and whether other cards from the same batch need checking.
Choosing between the two builds on Windows 10
Both builds behave the same for everyday writes, so the choice comes down to convenience. The 1.0.0 installer suits a shared PC where people expect a Start menu entry and an uninstaller. The native build suits technicians who carry tools between machines, and anyone who needs to target a single partition instead of the whole device. Nothing stops you installing one and keeping the other in a tools folder; they don't share settings, and they don't conflict.
Summary
Windows 10 is the most straightforward place to run Win32 Disk Imager. Install the 1.0.0 release or build the native edition, run it as administrator, and follow the same loop each time: hash the image, write it, verify it, eject properly and never format the result. Watch for Defender scans and indexing when you see access errors, and keep images out of synced folders. That routine works the same on a single hobby card or a hundred production ones.