Download the source archive
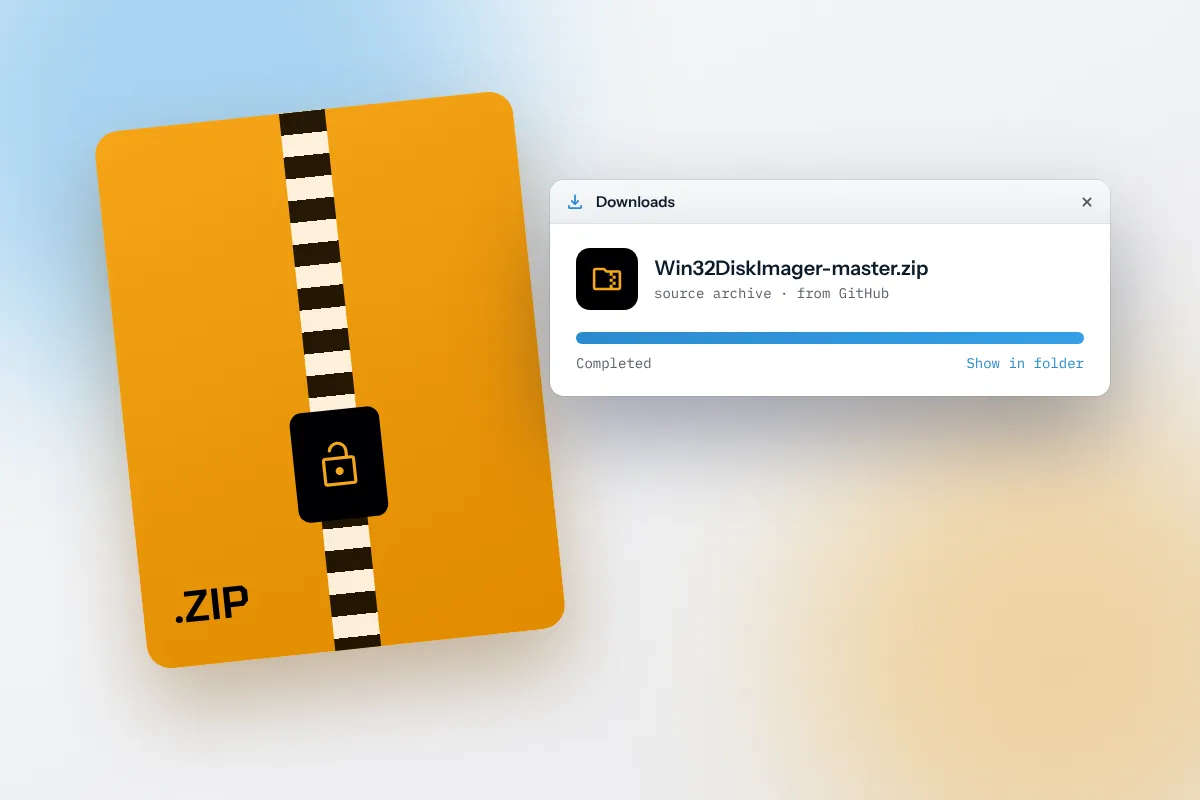
Use the download button further down this page. It fetches Win32DiskImager-master.zip straight from the GitHub repository, which is the current state of the master branch.
- Save it somewhere short, such as
C:\src\. Deep paths inside Downloads can trip older build tools. - If your browser flags the archive, check that the address starts with
github.com/znone/. - Prefer a ready-made installer? Get the 1.0.0 build from the official SourceForge files page and skip to step 5.
Extract and read the README
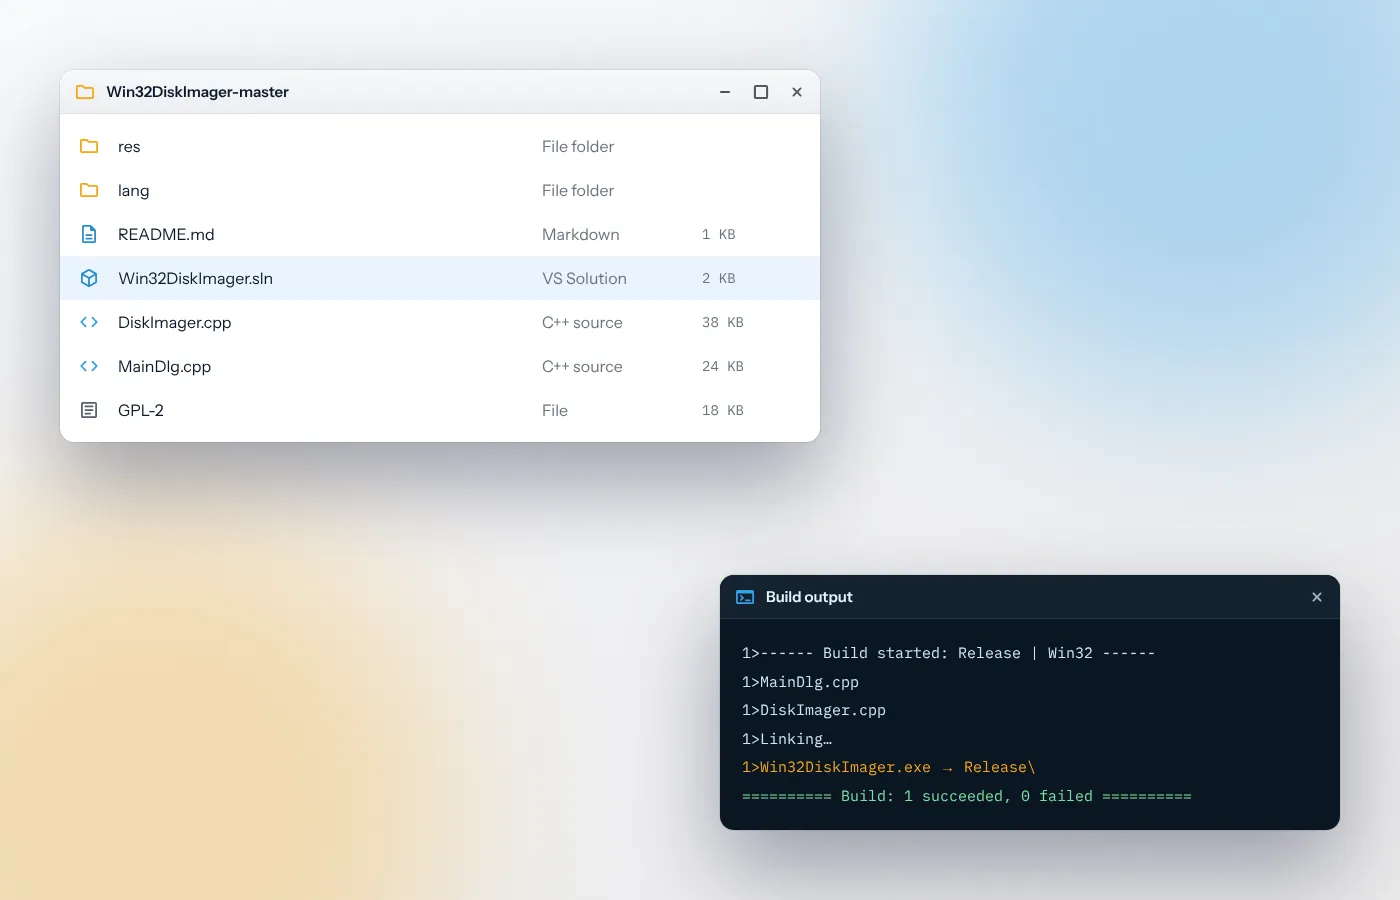
Right-click the ZIP, choose Extract All, and open the new Win32DiskImager-master folder. The README lists exactly what the build expects: Visual Studio 2010 or later, the WTL library and the Windows SDK 7.0.
- Leave the folder structure as it is. The solution references files by relative path.
- Skim the GPL-2 licence file. You are free to use, modify and share the program under its terms.
Prepare the toolchain
Install Visual Studio (Community edition is fine) with the Desktop development with C++ workload. Then add WTL. The simplest route is the wtl NuGet package; alternatively, download WTL and add its Include folder to the project's include directories.
# Package Manager Console, inside the opened solution
Install-Package wtl
Build the Release configuration
Open the solution file from the extracted folder. If Visual Studio offers to retarget the project to your installed SDK and toolset, accept. Pick Release and Win32, then choose Build → Build Solution.
- The finished
.exe lands in the Release output folder and needs no installer. - Copy it anywhere you like. It also runs straight from a USB stick.
- A missing
atlapp.h error means WTL isn't on the include path yet.
Launch and run your first write
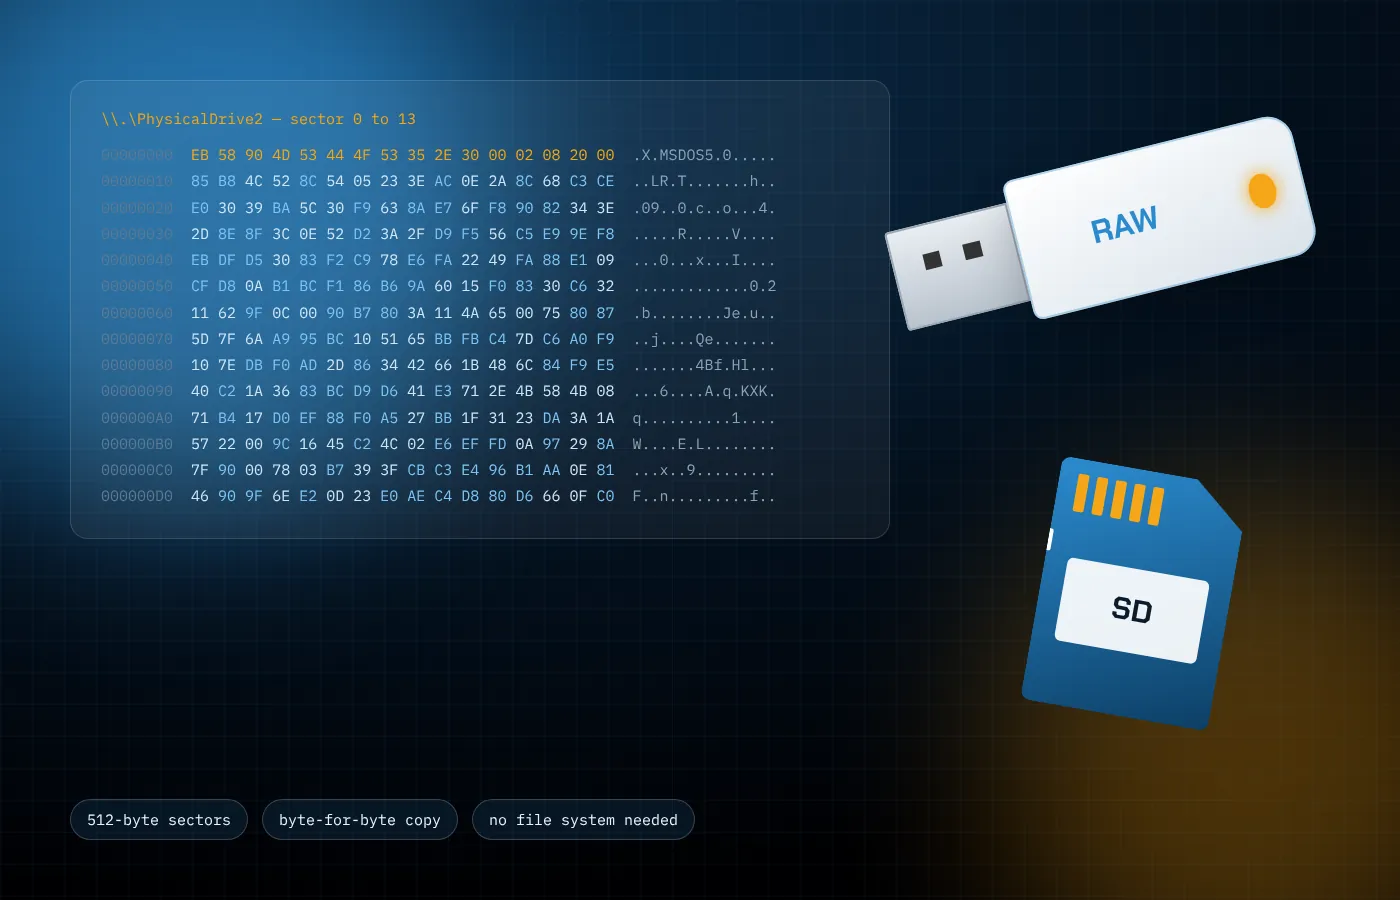
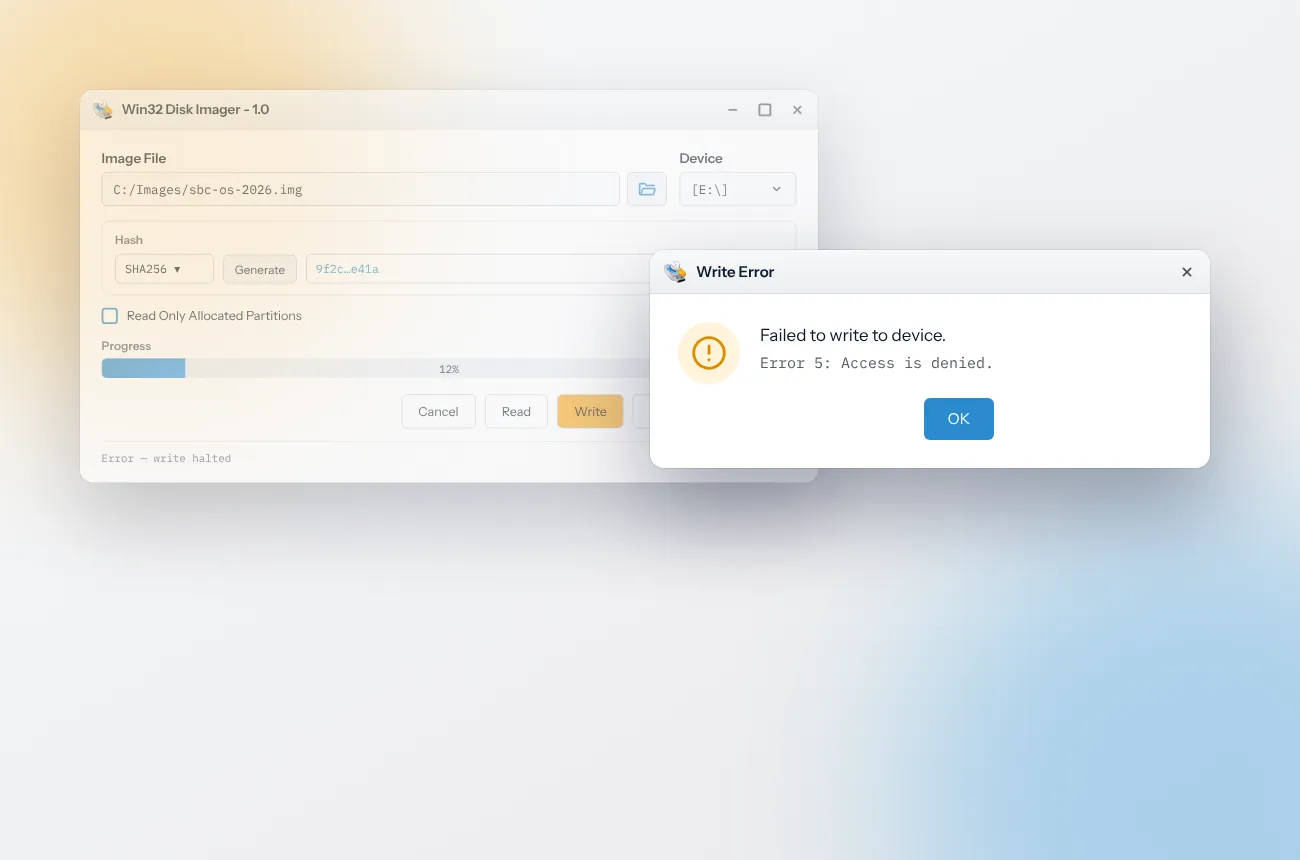
Double-click the executable and accept the UAC prompt, because raw device access needs administrator rights. A binary downloaded from elsewhere may trigger a SmartScreen notice. Choose More info → Run anyway only if it came from the official repository or project page.
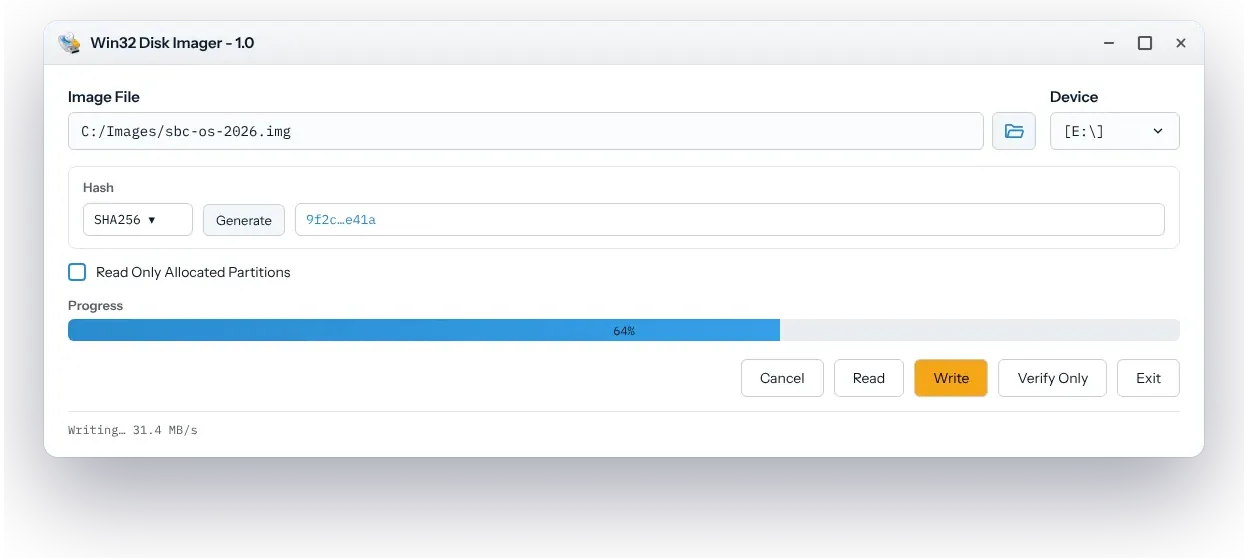
- Click the folder icon and choose your
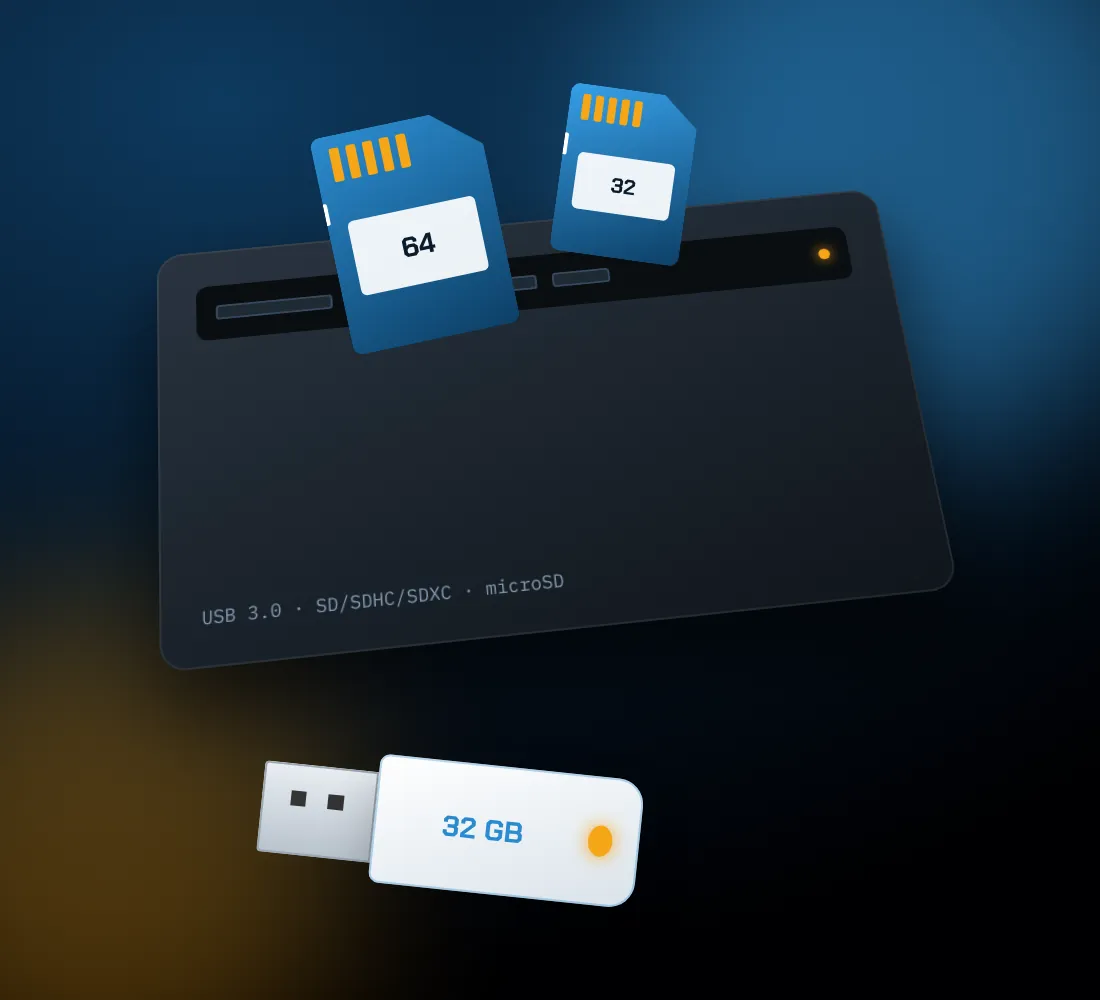
.img. - Pick the drive letter of the card in Device. Check it twice.
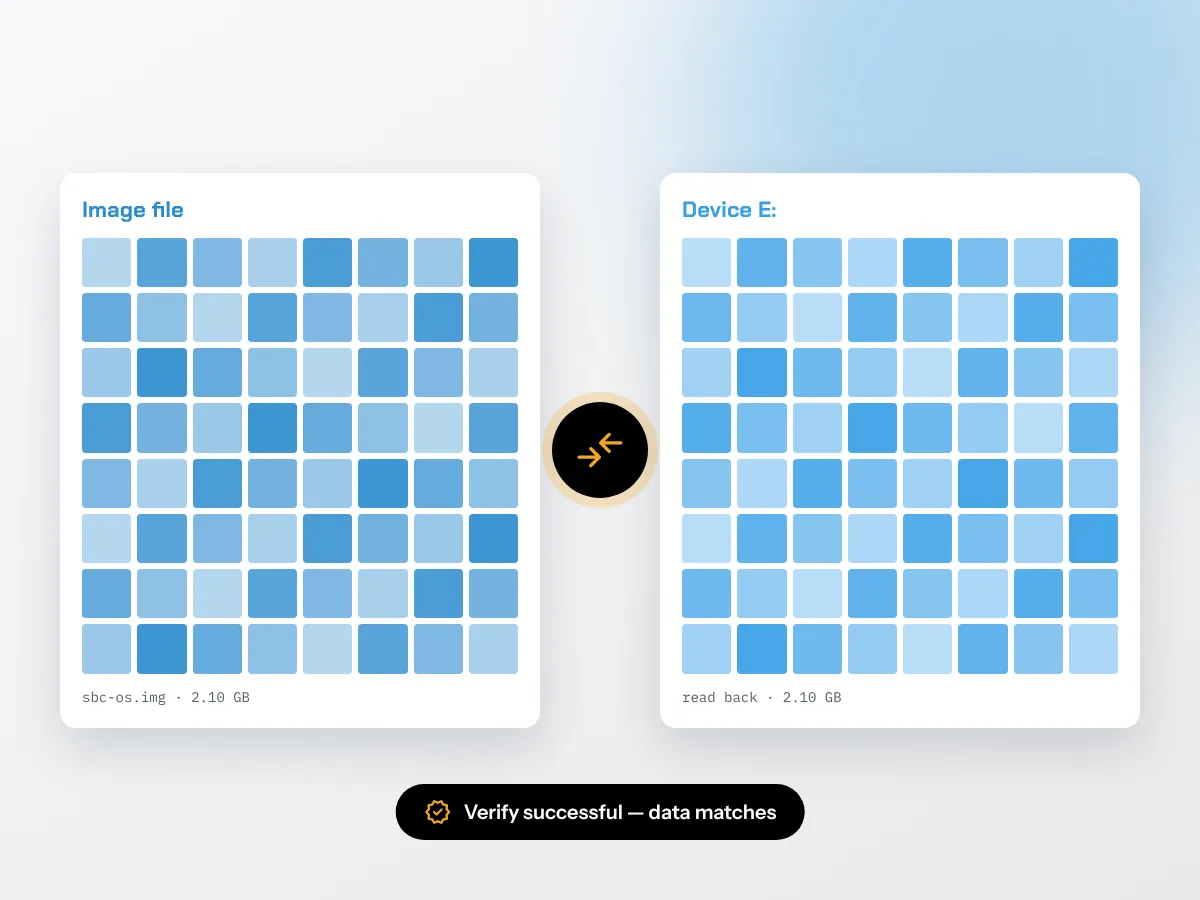
- Press Write, confirm the warning, then run Verify Only when it finishes.