
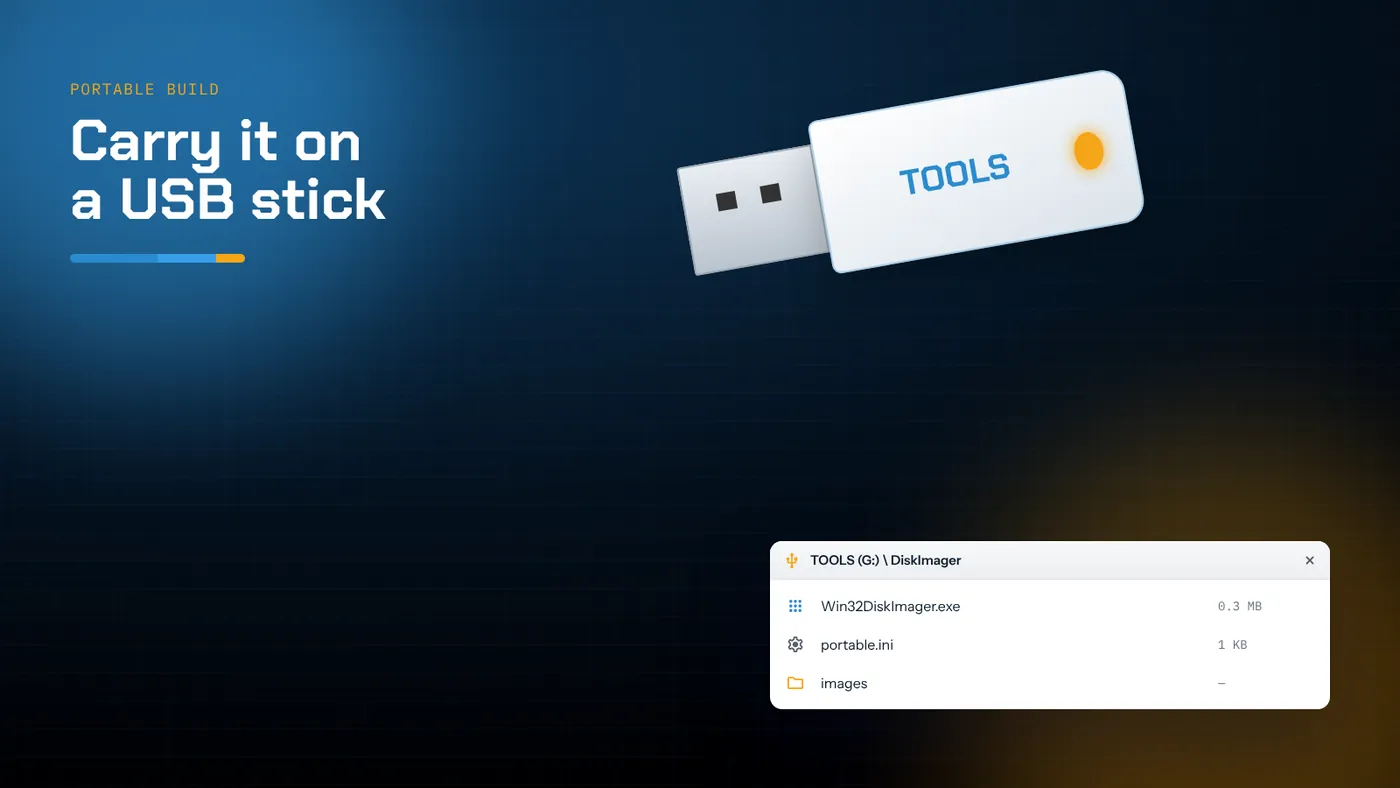
- The native Win32 build is a single small executable with no runtime, so it is portable as soon as you build it.
- The SourceForge binary ZIP is the portable form of the Qt 1.0 release; keep its DLLs beside the .exe.
- Portable does not mean unprivileged: raw disk access still needs administrator approval on every PC.
- Keep a hash list of your images on the same stick so you can check them on any machine.
Why people want a portable copy
Most of the time you need Win32 Disk Imager somewhere you didn't plan to need it. A colleague's laptop won't boot its single-board computer. A classroom PC has to flash fifteen cards before lunch. A field technician has to restore a controller from a backup image on a customer's machine. Installing software on someone else's computer is slow, often blocked by policy, and leaves things behind. A portable copy on a USB stick avoids all three problems.
The good news is that the tool suits portable use better than most. It has no services, no drivers, no background updater and no database. It opens a file, opens a device and copies sectors between them. The main things to get right are choosing a build that doesn't depend on installed components, keeping its files together, and remembering that Windows will still ask for administrator rights each time.
Which build is truly portable
There are two families of the program in circulation, and they behave differently when you carry them around.
The native Win32 build (GitHub source)
The source archive offered on this site is a rewrite of the original program using plain Win32 and the WTL library instead of Qt. Its README describes the release file as very small, and that is the point: once you build it, you get one executable and nothing else. It doesn't need a Qt runtime, a Visual C++ redistributable if you link the runtime statically, or a registry entry to start.
That makes it the best candidate for a portable kit. Build it once in Release mode (the steps are in the installation section on the homepage), copy the resulting .exe into a folder on your stick, and you're done. It also runs on Windows XP, which matters more often than you'd expect on lab equipment and older workshop PCs.
If you build it yourself, set the C/C++ runtime library option to Multi-threaded (/MT) for the Release configuration. That links the C runtime into the executable, so it won't complain about a missing MSVCR or VCRUNTIME DLL on a freshly installed Windows machine.
The SourceForge binary ZIP (Qt 1.0)
The original project publishes both an installer and a binary.zip for version 1.0.0. The ZIP is the portable form. Extract it and you'll see the main executable alongside several Qt and MinGW runtime DLLs, plus a translations folder. All of those files have to stay in the same folder as the executable. If you move only the .exe, it will fail to start with a missing-DLL message, or appear to do nothing at all.
The Qt build works perfectly well from a stick. It's just larger and more fragile to move around than the native one.
What about the installer?
The installer copies the same files into Program Files and adds Start menu shortcuts. You can copy that installed folder onto a stick and it will usually run, but there's no advantage over the binary ZIP, and you'd be carrying files you don't need.
Building a tidy portable kit
A portable kit is only useful if it's reliable at the moment you need it. This folder layout has worked well across many machines:
TOOLS (G:)
└── DiskImager
    ├── Win32DiskImager.exe
    ├── README.txt          ← your own notes: build date, source, version
    ├── SHA256SUMS.txt      ← hashes of the images you carry
    └── images
        ├── sbc-base-2026-10.img
        └── controller-restore-v4.img
A few details are worth getting right:
- Name the executable clearly. If you carry both builds, call them something like
DiskImager-native.exeandDiskImager-qt\so you know which is which on an unfamiliar PC. - Record where it came from. A one-line note saying "built from github.com/znone/Win32DiskImager master, 2026-10-12" saves guesswork months later.
- Store hashes, not just images. Before you copy an image onto the stick, use the program's Hash panel to generate its SHA-256 and paste the value into
SHA256SUMS.txt. On any machine, you can then select the image, pick SHA256, press Generate and compare. - Use exFAT or NTFS on the stick. FAT32 can't hold files larger than 4 GB, and many full-card images are larger.
Running it on someone else's computer
Administrator rights are still required
Portable doesn't mean unprivileged. Opening \\.\PhysicalDriveN and locking a volume are administrator operations in every Windows version since Vista, so the program asks for elevation at launch. On a locked-down corporate PC where you aren't an administrator, it won't be able to see or write the card. No portable trick changes that; you'd need someone with admin rights to run it.
When you do have rights, the UAC prompt appears each time. That's expected. If you click No, the program simply doesn't start, which some people mistake for a crash.
SmartScreen and antivirus
Windows SmartScreen judges unsigned executables partly by how many people have run them. A self-built .exe has no such history, so you may see "Windows protected your PC". Choose More info, check that the file name and location are the ones you expect, then Run anyway. Do this only for a file you built or downloaded from the official repository or project page.
Some antivirus products are suspicious of any program that writes to raw disks. If yours quarantines the executable, add an exclusion for your tools folder rather than turning protection off.
The last-folder memory
The program remembers the last folder you opened an image from, which saves clicks on your own PC. On a borrowed machine it means a small value is written to the current user's registry. If you'd rather leave no trace, that value sits under the current user's software key for the program and can be removed after you finish. It holds nothing but a folder path.
Drive letters move around, so check every time
The biggest risk with a portable kit is that you're on an unfamiliar machine where the drive letters are different. On your desk the card is always E:. On a colleague's laptop with a built-in reader and a docking station it might be H:, and E: might be their external backup drive.
Before every write on a new machine:
- Unplug any USB storage that isn't involved, apart from your tools stick.
- Open the program and look at the Device list.
- Insert the target card, close and reopen the Device list, and note the letter that appeared.
- Compare its size with the card's label.
Remember too that your tools stick is itself removable media. It will appear in the Device list, and writing an image onto it would wipe your kit. Use a different-looking image folder name, or keep the stick's volume label obvious, such as TOOLS, so it's never mistaken for a blank card.
Reading backups onto a portable drive
Reading a card produces an image as large as the card unless you tick Read Only Allocated Partitions. Copying a 64 GB card to a 64 GB stick won't fit once file system overhead is counted. Three habits help:
- Use the allocated-only option when the card's partitions don't fill the whole card. A typical single-board OS on a 64 GB card has partitions covering only a few gigabytes until it expands on first boot.
- Prefer a fast USB 3 SSD over a flash stick for reading large cards. Sustained writes to cheap flash drives slow down sharply after their cache fills.
- After reading, compress the image with 7-Zip for storage. Remember that the program can't write compressed images, so extract again before restoring.
Portable kits for teams
If several people share a kit, a few conventions prevent accidents:
- Version your images by date in the file name (
kiosk-2026-11-01.img) rather than overwritingkiosk-latest.img. - Keep a short text file listing which image belongs to which device type.
- Rebuild or re-download the executable once a year, or when Windows changes something about removable storage. Note the date in your README.
- Make one person responsible for updating
SHA256SUMS.txtwhenever an image changes.
Common portable problems
| Symptom | Likely cause | Fix |
|---|---|---|
| Nothing happens on double-click | UAC prompt declined or hidden behind other windows | Right-click → Run as administrator; check the taskbar for a flashing prompt |
| "Missing DLL" message | Only the .exe was copied from the Qt build |
Copy the whole binary ZIP folder |
| VCRUNTIME error with native build | Built with the dynamic runtime | Rebuild with /MT, or install the matching Visual C++ redistributable |
| Card not listed | Card has no drive letter on this PC | Assign one in Disk Management, then refresh the list |
| Image won't fit on stick | Stick formatted as FAT32 | Reformat it as exFAT or NTFS |
When a portable copy isn't enough
A portable copy is no help if the problem is the machine itself: no USB ports you can use, a group policy that blocks removable storage, or an antivirus policy you can't change. In those cases, it's usually quicker to bring your own laptop with the tool already set up than to fight the restrictions.
If you regularly work on Macs or Linux machines, don't carry Win32 Disk Imager at all; it's Windows-only. Learn dd or keep a cross-platform flasher in your kit instead. The alternatives guide in this section compares them.
Summary
Win32 Disk Imager portable is easy to set up because the program is so simple. The native build gives you a single executable that runs anywhere from Windows XP to Windows 11. The Qt binary ZIP works too, as long as its DLLs travel with it. Put your images and their SHA-256 values on the same stick, check drive letters carefully on unfamiliar machines, and expect a UAC prompt every time. With those habits in place, you can carry a dependable imaging kit in your pocket.